


Tips and Tricks: Turkey, To Brine or Not to Brine
That is the question. Some people swear by brining and say it can add delicious flavor and moistness to meat. Others don’t want the hassle of brining-the pans, the fridge space and the time. The truth is brining can make a delicious bird and so can skipping the brine. Here are two ways to make turkey.
If you want to brine:
This will require time, so plan ahead. You need to start your brine the day before you plan to cook your turkey.
Basic Brine Ingredients:
1 cup sea salt or kosher salt
1 gallon filtered water
1 cup raw sugar or honey (optional)
1 bunch fresh sage (optional)
1 bunch fresh thyme (optional)
3 tablespoons black pepper (optional)
Brining Method:
Bring all ingredients to a boil; remove from heat and cool. I place the hot pot outside in colder months to help it cool down quicker. Place thawed turkey in a deep roasting pan that is large enough to allow most of the turkey to be submerged in the brine, or use a commercially available brining bag. We use a 5 gallon food grade plastic bucket so the bird is fully submerged and I don't have to deal with the task of repeatedly turning it so that it gets evenly brined. The downside to this method is that substantial extra refrigerator space is needed during the day long brine. We have used our extra refrigerator for this purpose, but before we had one, this method would have been ruled out due to lack of space. If you use just the pan, cover with plastic wrap and refrigerate (or put in an ice chest if your refrigerator is full, just be sure to change out the ice blocks as needed). Turn the turkey in brine every few hours if it is not fully submerged. Keep turkey in brine for 12-24 hours.
Preparing the Brined Turkey for Cooking:
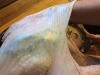
When it is time to cook the turkey, lift it out of the brine, rinse with cold water and dry with paper towels. Slide a small rubber spatula between the skin and the meat to separate them or use your hands. Insert half of the herbed butter mixture (recipe below) under the skin and spread evenly. Either put the remaining herbed butter mixture under the skin as well or on the outside of the skin. If you wish, fill the body cavity with stuffing (recipe below).

If you skip the brine:
Prepare the skin to protect the tender meat by making an herb butter. Blend the components together and carefully spread between the skin and the meat in a nice thick layer. Do not pierce the skin.
Herb Butter: Use the highest quality, organically grown ingredients available.
1 lb butter at room temperature
½ to 1 cup bacon fat
Several bunches of fresh poultry herbs chopped*
½ to 1 teaspoon nutmeg (fresh-grated is best)
3 Tablespoon sea salt (skip this entirely, or reduce to ~1 Tablespon if applying this herb butter to a brined bird)
1 Tablespoon black pepper
1-5 cloves minced garlic
*What are poultry herbs? Traditionally they consist of sage, rosemary, thyme or marjoram (I like them all). I also like to use parsley and sometimes savory or tarragon. In this recipe each bunch equals about 1 – 2 Tablespoons of each chopped herb. The more herbs you use the more flavorful and rich your bird will taste. You may substitute dry herbs. Generally 1 teaspoon of dried herbs equals 1 Tablespoon of fresh.
Prepare the cavity to boost flavor by rubbing with salt and pepper and any leftover herb butter. Lightly stuff with the following aromatics:
![]() Aromatic Stuffing: Use the highest quality, organically grown ingredients available.
Aromatic Stuffing: Use the highest quality, organically grown ingredients available.
Using room temperature ingredients is best, so the core of the bird is not too cool, which allows for more even cooking.
1 large onion, chopped
2-3 large carrots, chopped
3-4 celery ribs, chopped
2-3 medium apples, chopped (I include the cores, and then discard after cooking)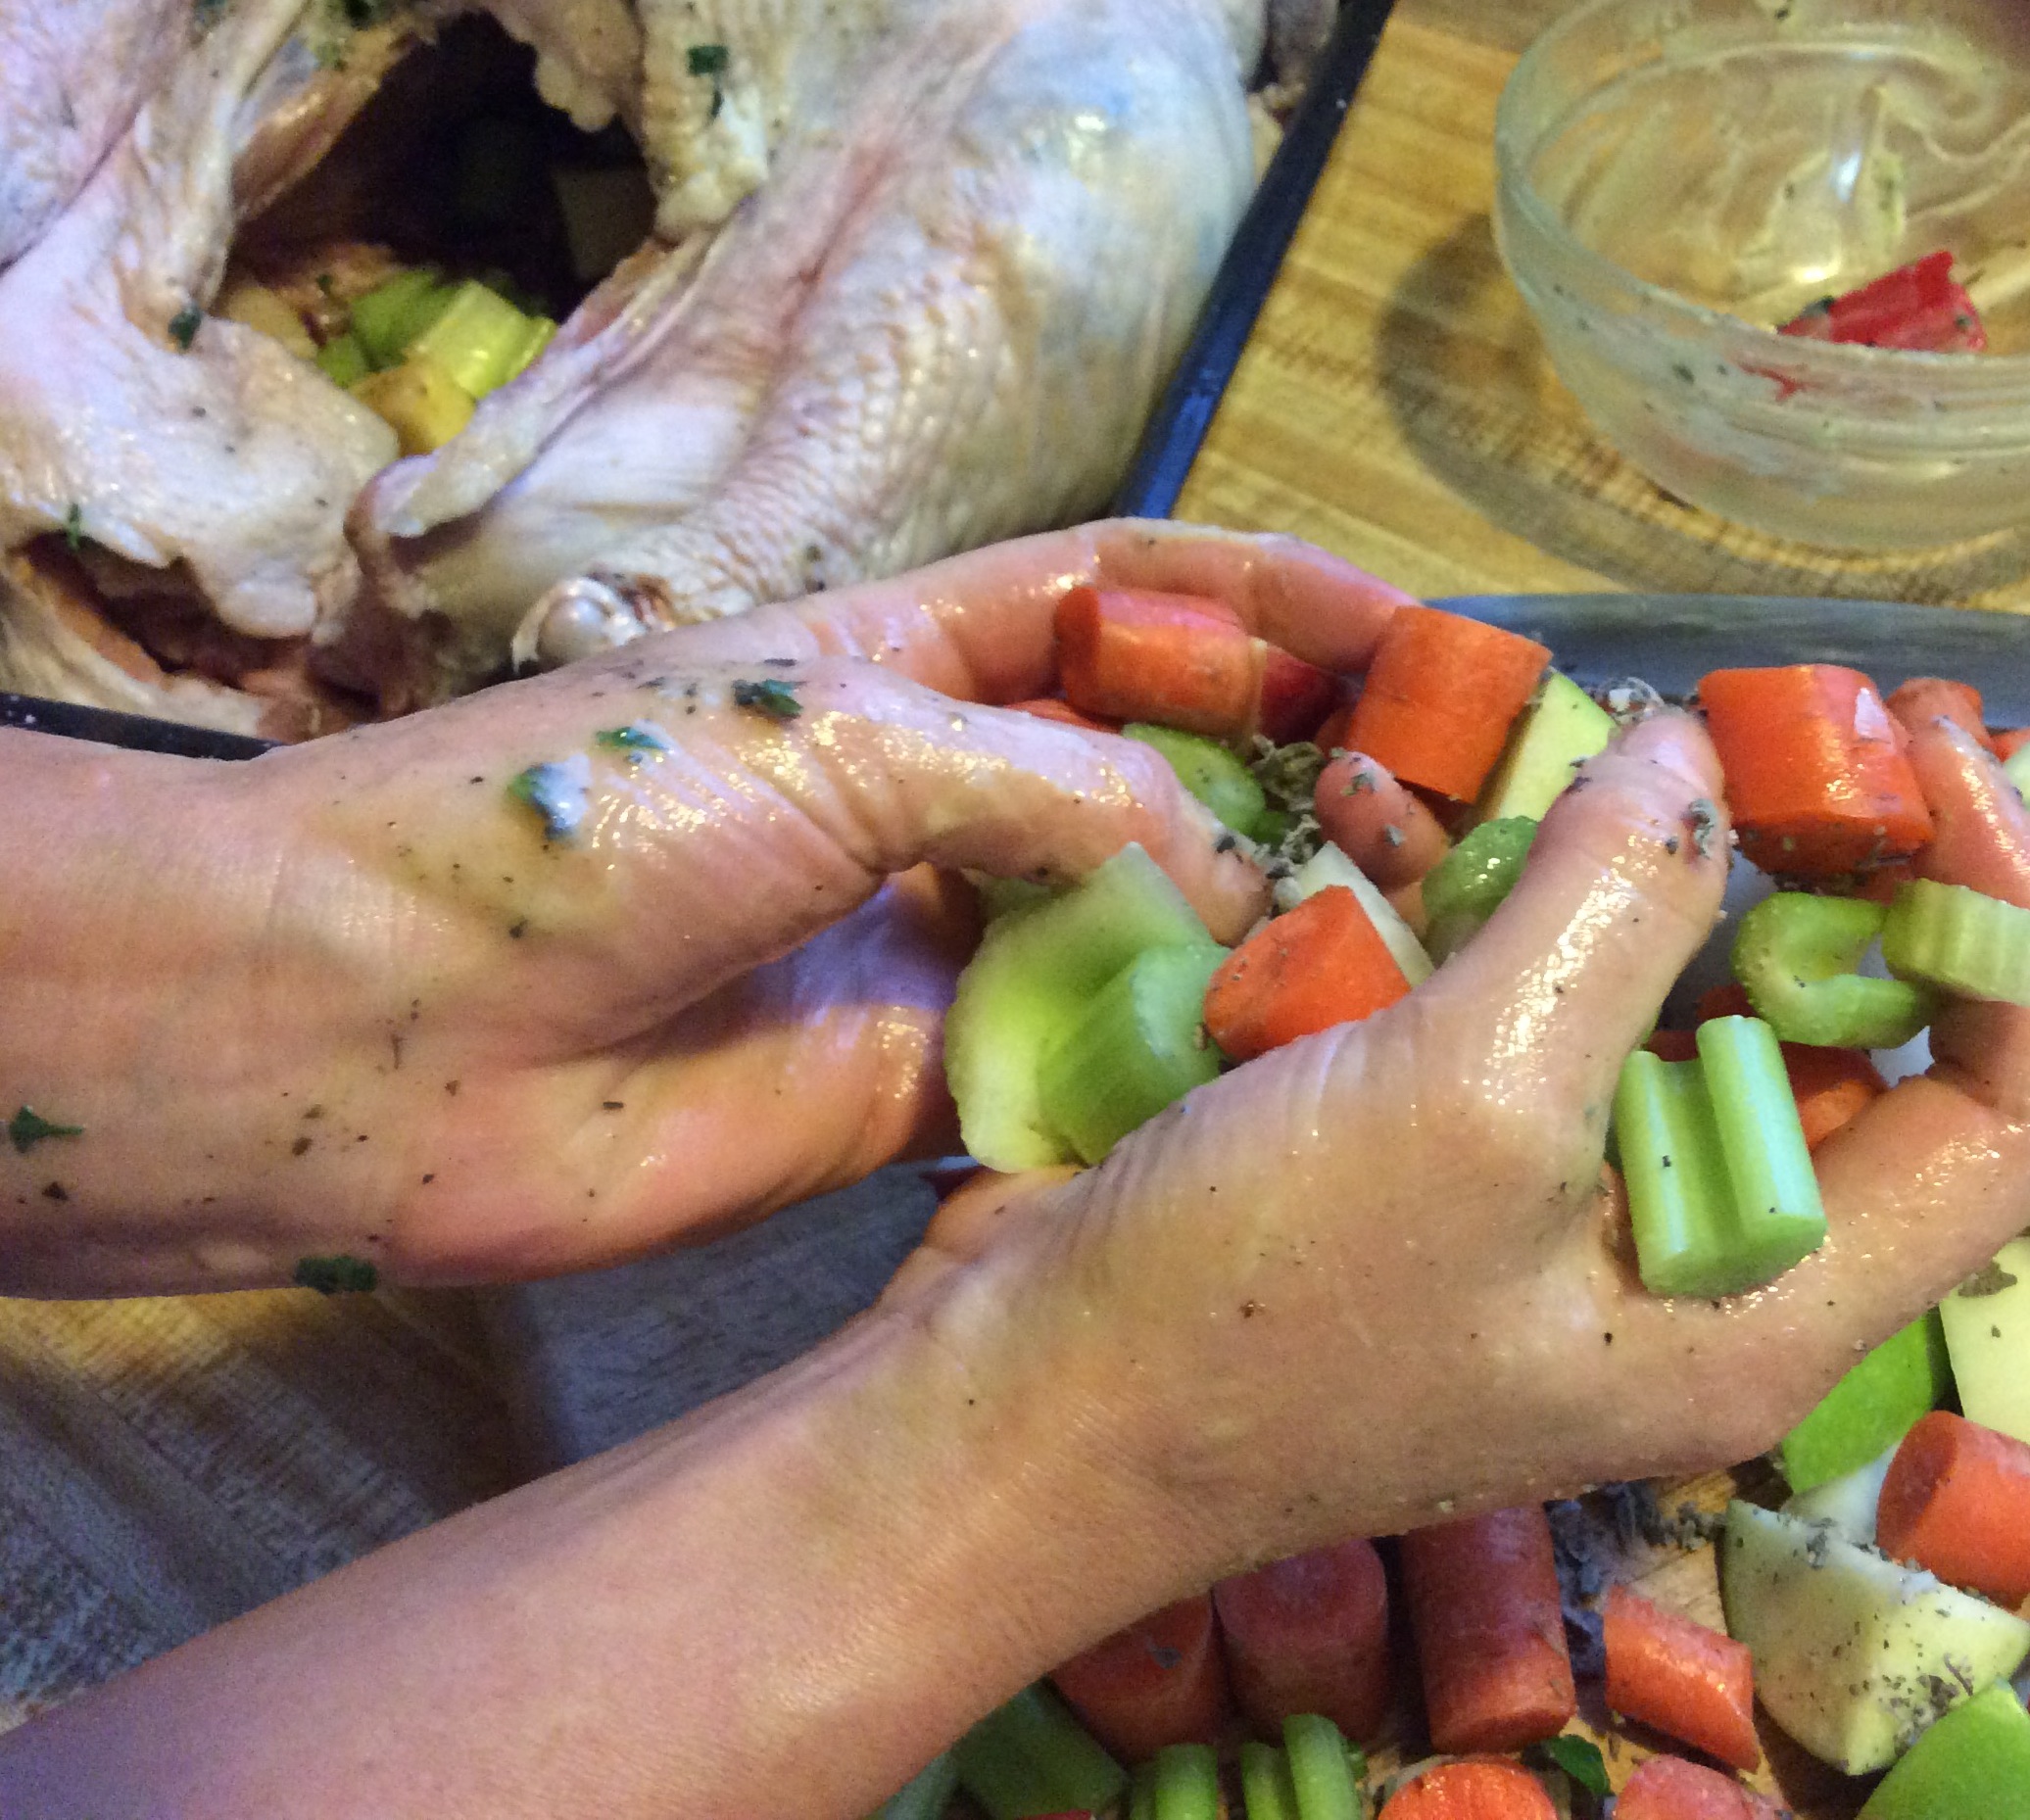
1 lb pork sausage, lightly browned and cooled (Lightly browned means there is still some pink. Use sausagewith sage if available)
Fat drippings from sausage
1-2 Tablespoon rubbed sage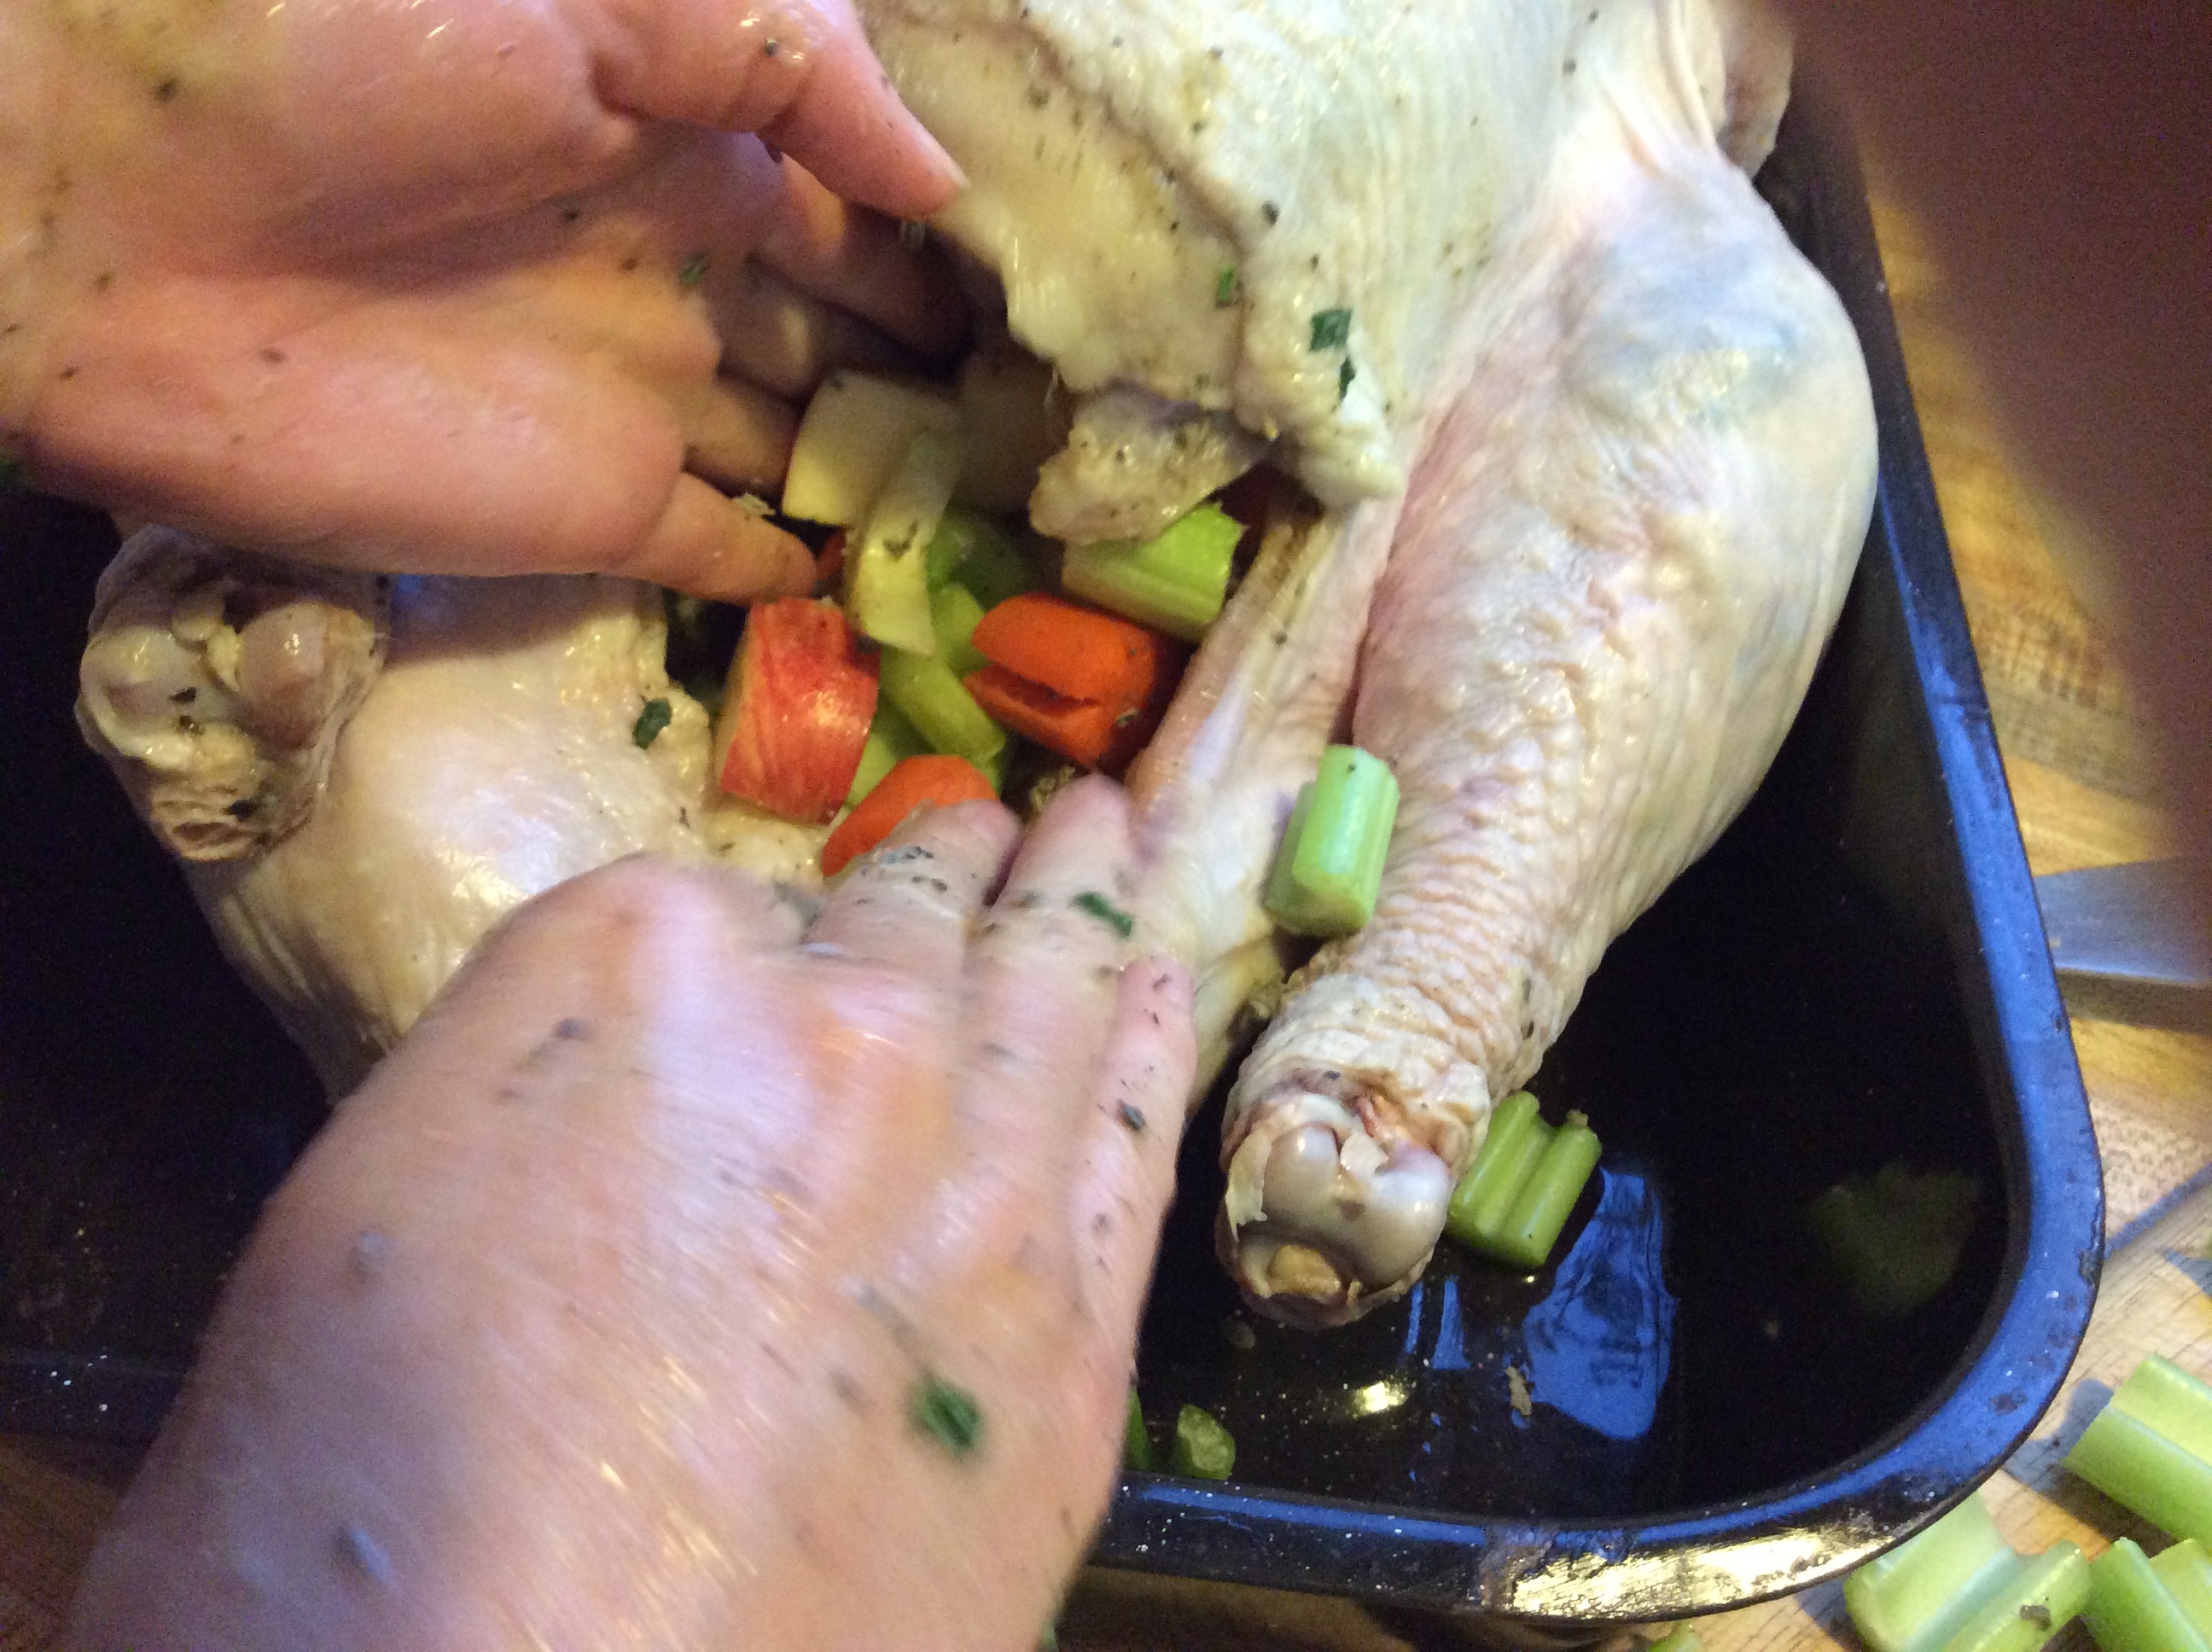
2-4 cloves garlic, chopped
Mix aromatic stuffing ingredients in a bowl until combined or just alternate handfuls of the various ingredients as you stuff. Lightly stuff the bird cavity. DO NOT tightly pack. We want everything to cook completely. Use leftover aromatic stuffing in the pan around the turkey.
Salt and pepper the exterior of your turkey. Now comes the trussing. Frankly, I’ve trussed and not trussed. In my opinion it really isn’t worth the time unless you have a bird with sprawling legs, in which case, trussing is needed to keep the drippings in the pan and avoid making a mess of your oven.
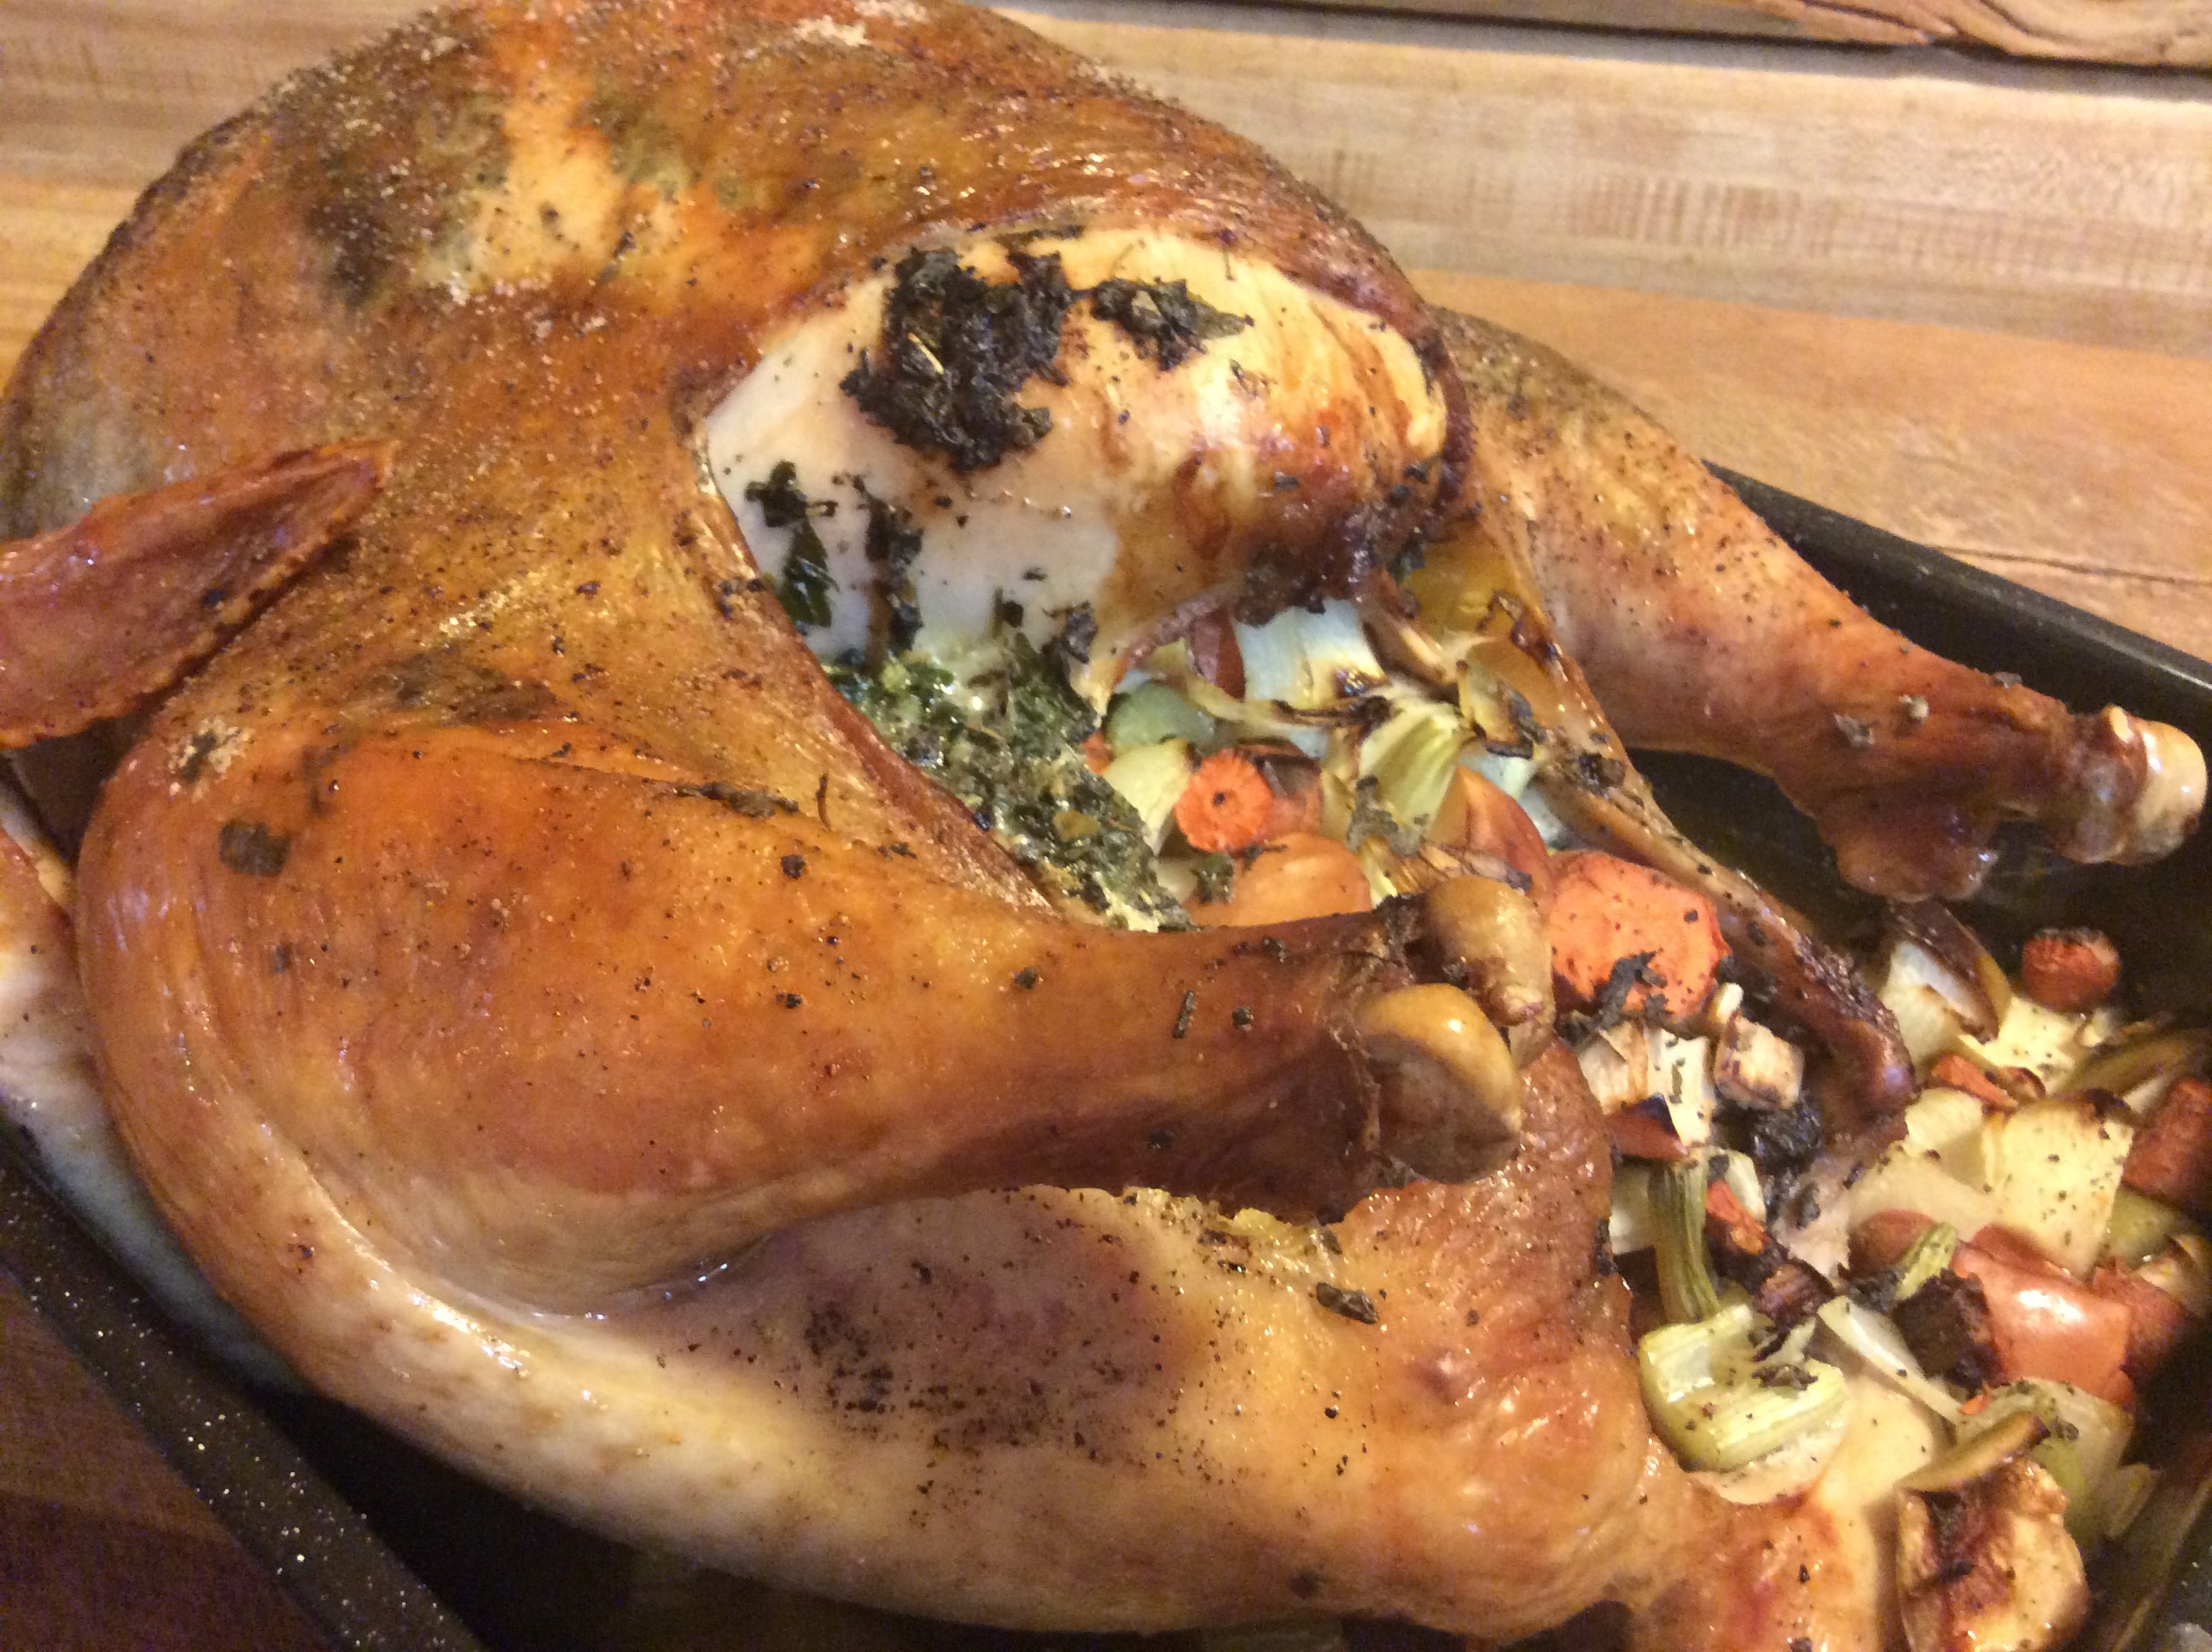
Roasting the Turkey:
Whether you brined or not, once the herb butter has been liberally applied, it is time to cook your bird. Roast at 475o to 500o for 30 minutes. Cover bird with a layer of parchment paper covered with aluminum foil. Turn the oven down to 325o to 350o and continue roasting until thermometer reads 165 degrees. Remove parchment and foil for the last 5 to 10 minutes of cooking. Yum!
This article appeared in the December 2014 Savor Your Health Newsletter. Sign up in the Sidebar to get more tips, tricks and delicious recipes delivered to your inbox every month.
 Tips & Tricks, recipes